Tips & Tricks
Mastering the Art of Concrete Slab Prep and Pour: A DIY Guide by A-Plus Concrete
A-Plus Concrete
Concrete Tips & Tricks for DIY or Professional Projects
We Are Ready For 24/7 Emergency Service
Welcome to the A-Plus Concrete blog, where we share expert tips and tricks to empower you in your concrete endeavors. In this post, we’ll guide you through the essential steps of prepping and pouring a concrete slab. Whether you’re a seasoned DIY enthusiast or a first-time concrete project enthusiast, these insights will help you achieve professional results.
1. Understanding the Basics of Concrete Slab Prep:
Before diving into the pouring process, proper preparation is key. Start by clearing the area of debris, rocks, and vegetation. Ensure the ground is level and compacted to provide a stable base for your concrete slab. This step not only enhances the slab’s longevity but also minimizes the risk of cracks and uneven settling.
2. Accurate Measurements and Marking:
Precision is paramount in concrete projects. Take the time to measure and mark the dimensions of your slab accurately. Use stakes and string to outline the area, and double-check your measurements to avoid unnecessary adjustments later in the process. A well-marked and measured site lays the foundation for a successful pour.
3. Choosing the Right Concrete Mix:
Selecting the appropriate concrete mix is crucial for the strength and durability of your slab. Consult with your local concrete supplier or A-Plus Concrete experts to determine the best mix for your specific project. Factors such as weather conditions and the intended use of the slab will influence your choice.
4. Reinforcement for Added Strength:
Consider reinforcing your concrete slab with mesh or rebar to enhance its structural integrity. This step is especially important for larger slabs or those subject to heavy loads. Proper reinforcement minimizes the risk of cracking and ensures a longer lifespan for your concrete surface.
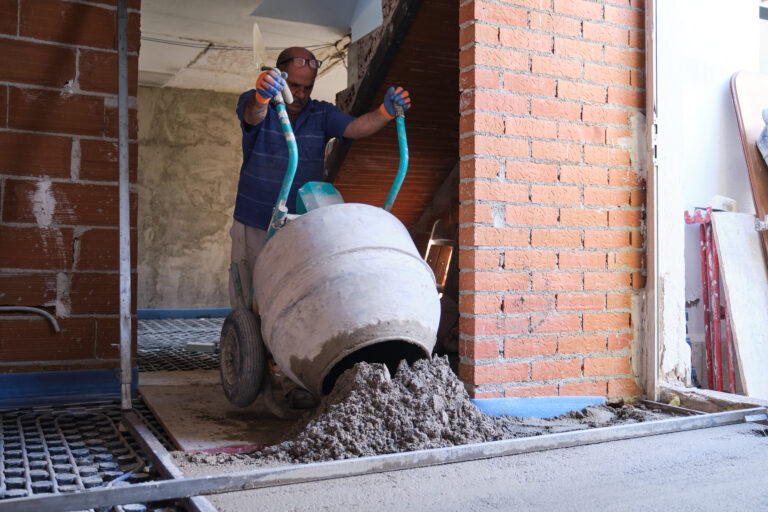
5. Proper Pouring Techniques:
Now comes the exciting part – pouring the concrete. Work systematically, pouring small sections at a time to maintain control over the process. Use a screed board to level the surface, and a bull float for a smooth finish. Pay attention to edges and corners to ensure uniform thickness and a professional appearance.
6. Curing and Protection:
Curing is a critical phase that directly impacts the strength of your concrete slab. Keep the surface moist for an extended period to allow for proper curing. Consider covering the slab with wet burlap or using curing compounds to retain moisture. Additionally, protect the freshly poured concrete from extreme weather conditions by using tarps or shade.
7. Finishing Touches for Aesthetic Appeal:
Once the concrete is set but still workable, consider adding finishing touches. You can create a non-slip surface by broom finishing or add decorative elements for a personalized touch. A-Plus Concrete experts recommend exploring different finishing techniques to achieve the desired look for your project.
Conclusion
Congratulations! You’ve successfully prepped and poured a concrete slab like a pro. Following these tips and tricks from A-Plus Concrete ensures that your project not only meets but exceeds expectations. For more in-depth guidance or to explore our range of concrete solutions, feel free to reach out to our team. Stay tuned for more insightful tips from A-Plus Concrete – your trusted partner in all things concrete!
A-Plus Concrete
A-Plus Concrete specializes in small concrete deliveries in Western Connecticut. Our staff is fully dedicated to providing the best service to each one of our customers. We strive for friendly service, timely deliveries, and the utmost professional experience.
- Fairfield County / New Haven County / Litchfield County
- Call: (203) 744-7661
- Email: aplusconcretect@gmail.com
Copyright © 2023 A-Plus Concrete | Designed by Automated Growth Agency